Interior
Interior Painting Done Right
A lasting interior paint job is mostly preparation and product choice. Get the prep, primer, and sheen right, and the color takes care of itself.
Interior painting looks simple and rarely is. The difference between a room that looks freshly finished for years and one that shows roller marks, peeling edges, and mildew in a season comes down to a handful of decisions made before the finish coat. On the Gulf Coast, humidity raises the stakes, especially in bathrooms, kitchens, and laundry rooms where moisture lingers.
Start with a clean, sound surface
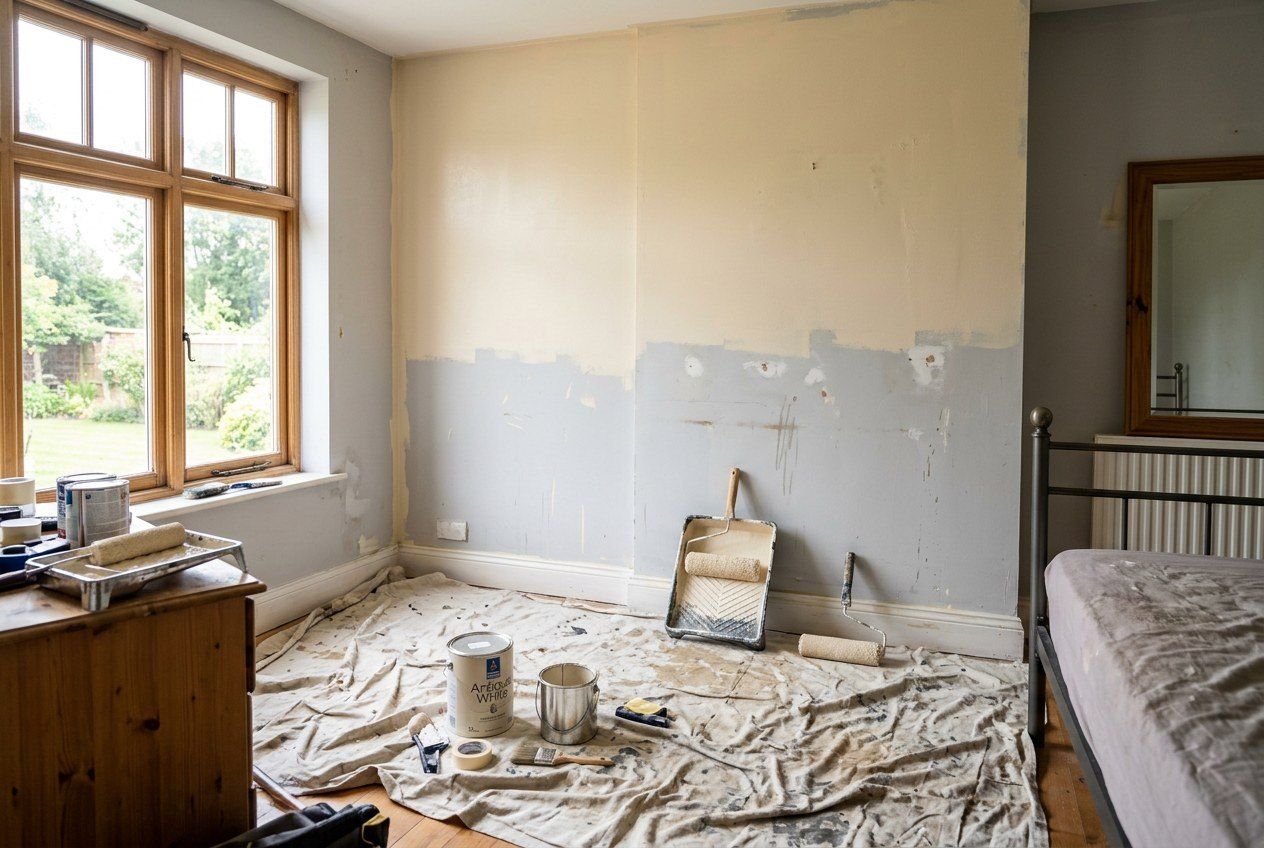
Paint bonds to what is under it, so the surface has to be clean, dry, and stable. Walls collect a surprising film of dust, cooking grease, and hand oils, and in humid rooms they can grow mildew that will bleed through fresh paint if not addressed. General prep looks like this:
- Wash walls to remove grease and grime, and treat any mildew before painting rather than over it.
- Scrape or sand any loose or flaking paint back to a sound edge.
- Fill nail holes, dents, and cracks, then sand the patches smooth and flush.
- Sand glossy surfaces lightly so the new coat has something to grip.
- Wipe away sanding dust and let everything dry fully before priming.
Prime when it counts
Primer is not always necessary over a sound, similar-color painted wall, but it earns its place in several situations: bare drywall or patched areas, stains that would bleed through, a dramatic color change, and slick or previously glossy surfaces. A stain-blocking primer is worth it over water marks or smoke, and a bonding primer helps on tricky surfaces. Skipping primer where it is needed is one of the most common reasons a job looks blotchy or fails early.
Choose the sheen for the room
Sheen is about durability and washability as much as looks, and it matters more on the humid Gulf Coast than many homeowners expect.
- Flat and matte hide wall imperfections beautifully but are harder to clean, best for low-traffic ceilings and adult bedrooms.
- Eggshell and satin offer a subtle glow and better washability, a common choice for living areas and hallways.
- Semi-gloss and gloss resist moisture and scrub well, making them the practical pick for bathrooms, kitchens, trim, and doors.
In rooms that see steam and humidity, leaning toward a more washable, moisture-resistant finish helps resist mildew and lets you wipe surfaces clean.
Cutting in and rolling
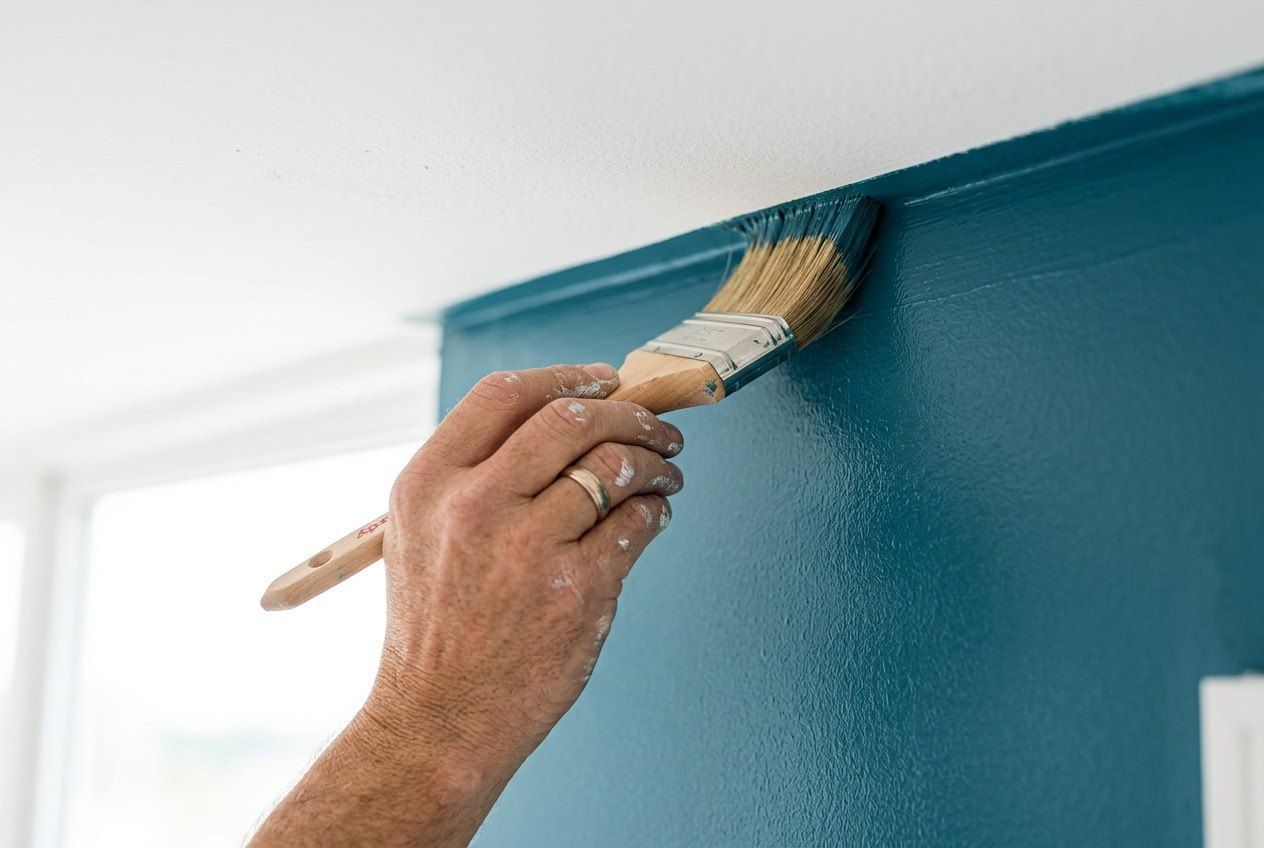
Clean lines come from technique, not luck. Cutting in, painting the edges and corners with a brush before rolling the field, is where a room is won or lost. A quality angled brush, a steady hand, and good lighting to see the wet edge do more than any tape trick. When rolling, keep a wet edge and work in manageable sections so the paint blends without lap marks. Two thinner coats almost always beat one thick coat for coverage and durability.
Most interior paint failures are not paint failures. They are prep failures wearing a finish coat.
Manage humidity while you work
Coastal humidity slows drying and can trap moisture in the film. Paint when indoor humidity is reasonable, run air conditioning or fans to keep air moving, and respect the product's recoat times rather than rushing the second coat. Painting a bathroom, then immediately taking a hot shower, is a reliable way to ruin a fresh finish; give coatings time to cure.
Where interior work connects
The prep discipline here is the same one that governs a good exterior paint job, just indoors. Interior painting is also the natural final step of most remodels, so it ties directly into kitchen and bath projects and the sequencing described in remodeling basics. And of course, the whole effort rests on the shade you pick, which is why it pays to read choosing colors before you commit. Do the prep, match the sheen to the room, respect the humidity, and interior painting becomes one of the most satisfying and durable upgrades a home can get.
Tools make a difference
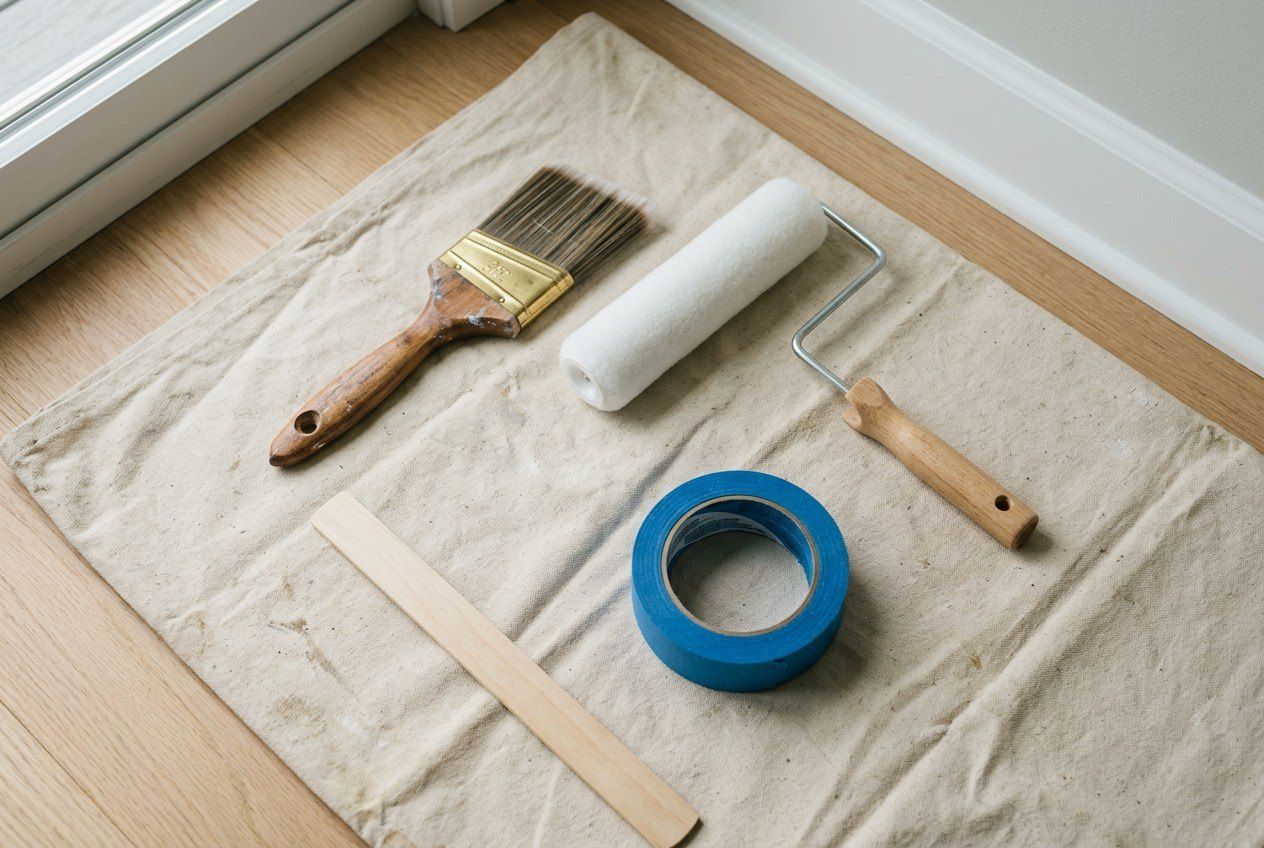
Good results are easier with good tools, and this is one place where spending a little more pays off immediately. A quality angled sash brush holds more paint and releases it cleanly, which makes cutting in far easier. A roller cover matched to the wall texture, thicker nap for texture, shorter for smooth walls, lays paint down evenly and reduces spatter. An extension pole saves your back and improves consistency. Cheap tools shed bristles, leave lint in the finish, and make the whole job harder, so a modest investment in decent brushes and rollers repays itself in a cleaner result and less frustration.
Protect the room and clean up right
The unglamorous bookends of a paint job, protecting the space and cleaning up, matter more than they seem. Moving or centering furniture, covering it with plastic, and laying drop cloths keeps paint where it belongs and saves a great deal of grief. Removing outlet and switch covers, rather than cutting around them, yields cleaner edges. When the work is done, cleaning brushes and rollers promptly keeps them usable for the next project, and storing leftover paint sealed and labeled makes future touch-ups easy. A little care at the start and finish turns a good paint job into a genuinely professional-looking one.